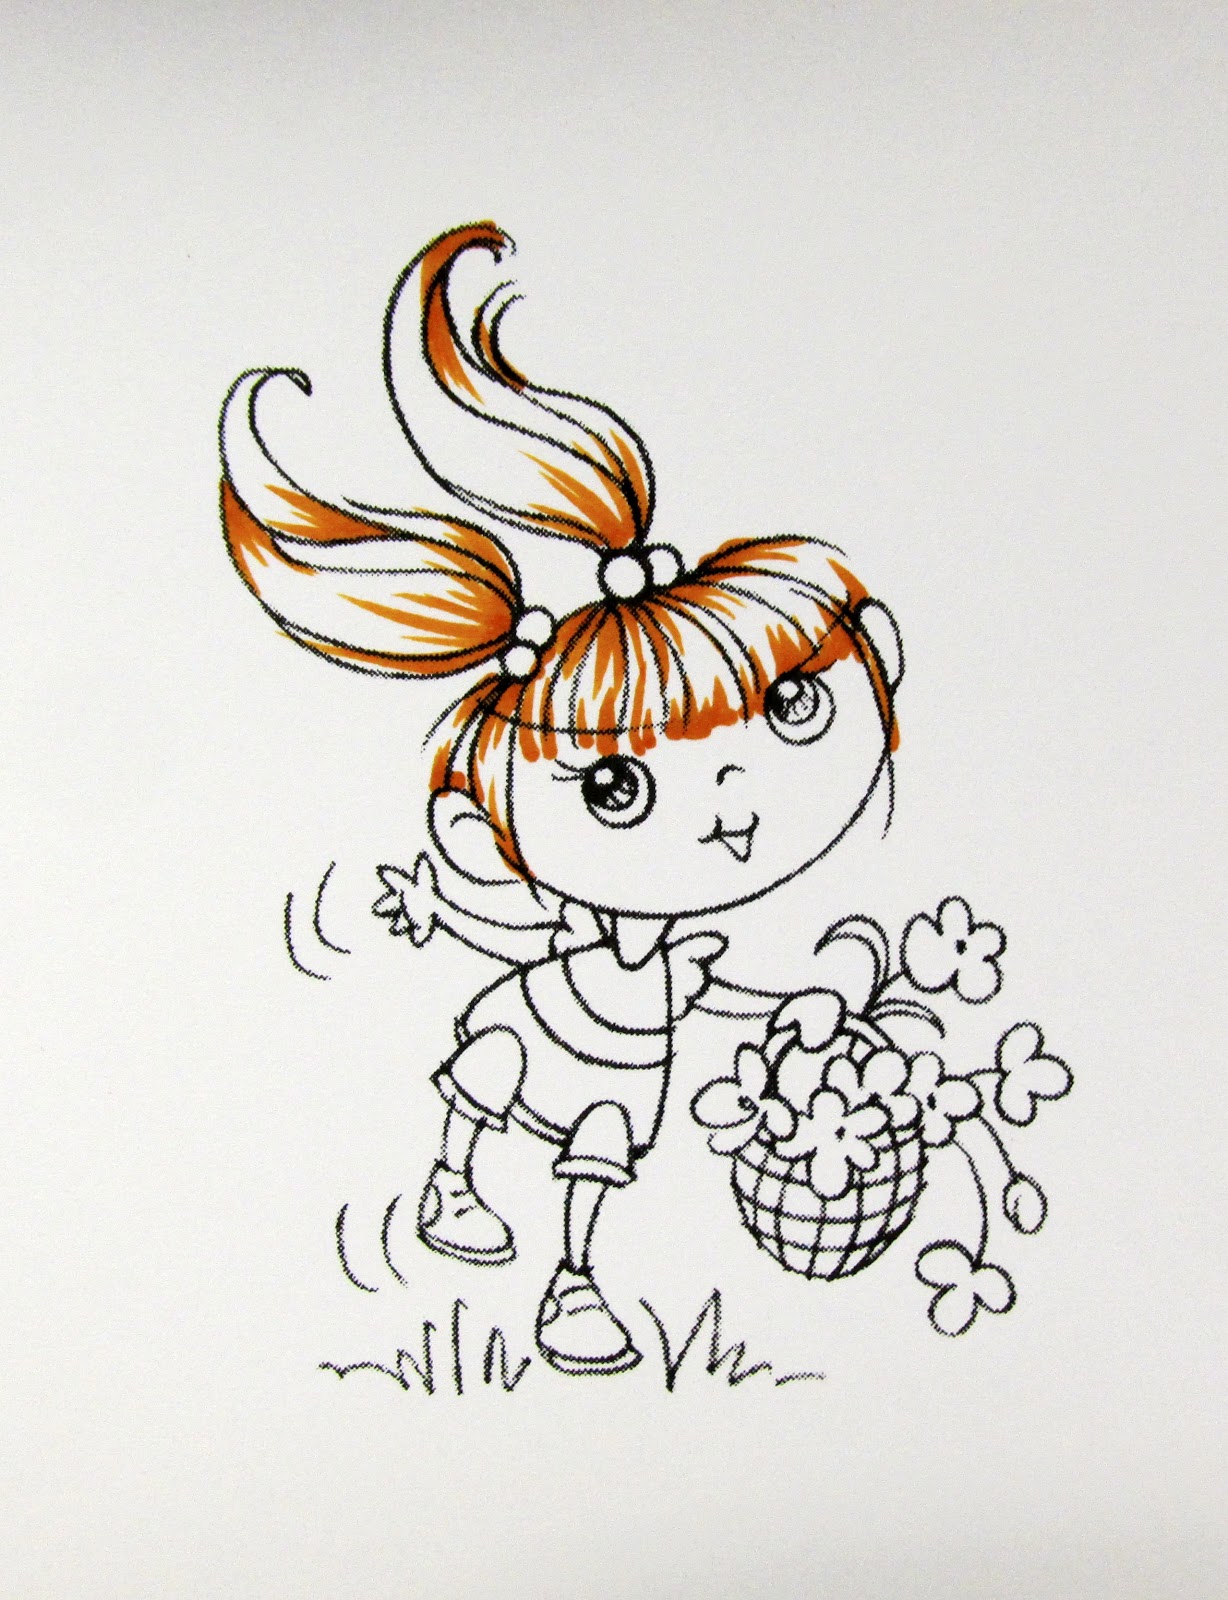
Hello, Rhea here today bringing you quick tips on coloring hair and skin with copic markers and an even easier tip on making an ordinary A2 card a little more special.
Today I chose to play with
V270 Kiddo Hop. I thought she would be great to practice hair and face. We will be using
Copic Markers in the following colors
HAIR = YR27 YR21 YR24
SKIN = E50 E51 E53
Start with the darkest color YR27. Lightly flick your color "away" from your shadows out or your darkest areas out. For instance, where the pony tales gather out. Or, from the roots out. Flicking does take practice, practice, practice! I hold my marker very different than when normal coloring. I find holding it straight up and down and barely touching the paper helps. Also flicking it away from me helps. Practice on scrap paper and do it over and over until you get the feel. Practice doing it different ways. You will find your flicking groove...I promise. Flicking is a very important technique with copic coloring. I use this technique in many different things such as flower details, folds in dresses even general coloring....all the time!!!! So do practice :)
next with the middle color YR24 extend your darkest color but only a little bit. You want to leave lots of white at this point. White will be your end highlight color.
finally use the lightest color YR 21 to extend color even more...but remember to leave white for your final highlight. I could go into light source but I will leave that for another day.
Coloring skin with Kiddo's is easy to learn on. with E50 color the entire face. Ok, so I have to talk a little about light source. Imagine the sun is coming from the side of the basket of flowers. So this is going to be the brightest part of her face.
Now that we have established where the sun is coming and where the brightest part of her face will be. We can now add the shadow. With E53 add or flick from the outside in just a bit as shown.
with E51 blend by flicking or in circles ... I prefer to flick. You will still see a little line.
finally with E50 do a final blend. If you want to deepen shadows you can add be returning to beginning of the steps and repeating process.
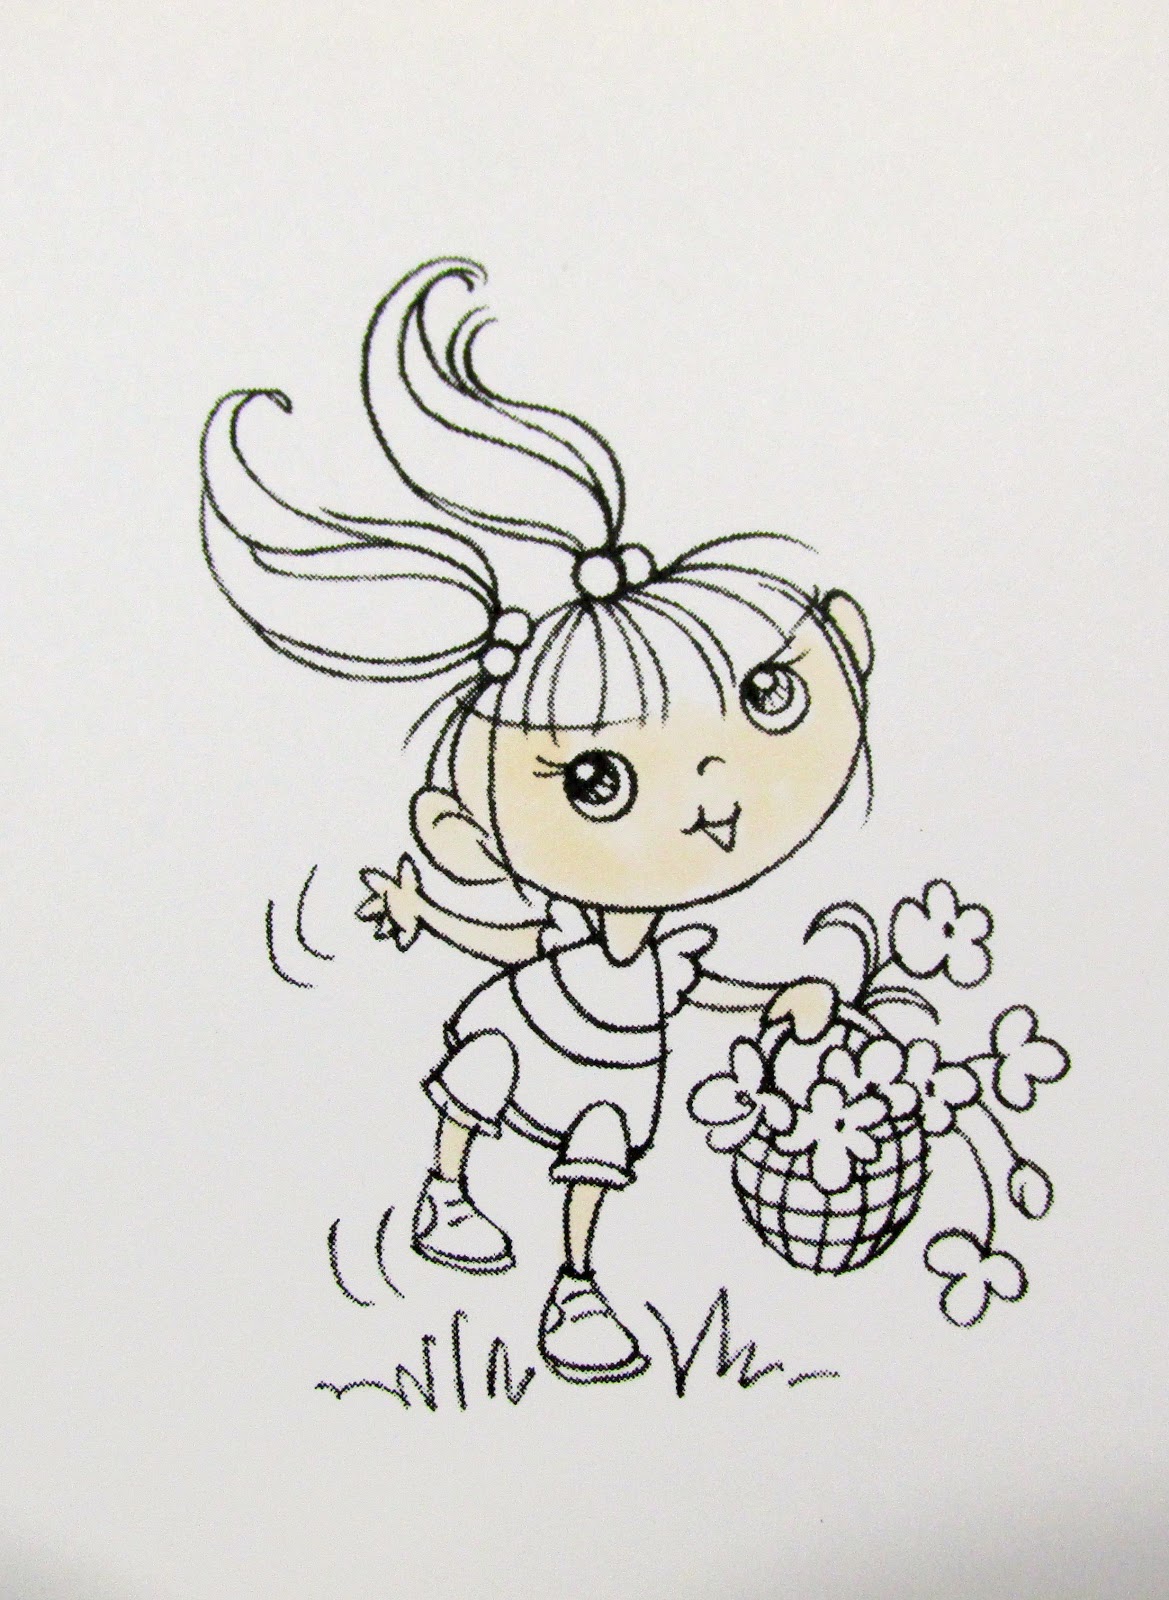
To make an ordinary A2 card a little more special I love to use the new
Spellbinders A2 Bracket Boarders. So easy and you can use them from any angle of the card. They also work on a 5x5 :)
Thanks for visiting today and I will see you again next Thursday for another tutorial. Happy Crafting :) -Rhea


3 comments:
WOW, what a fantastic card, I just LOVE the colours, they remind me of a big, wonderful bowl of candy, soo beutiful!
Gorgeous colouring too, thank you so much for sharing your tips and techniques, you are so talented :)
hugs,
Hanna
Oh, so darling, Rhea! Love the design, that sweet image, & your great coloring! :^)
Hugs, Penny
Good looking blog with interesting nice information.
I always keep in touch with your blog and going to bookmark also.
Thanks ..
Salon in Chandigarh
Post a Comment